Tilt-shift photography was originally used by architectural photographers to reduce perspective distortion when shooting buildings, and by landscape photographers to get entire scenes in focus, without needing to stop down their lenses too much.
Traditional tilt-shift lenses were able to do two things: tilt the plane of focus, and shift the image plane parallel to the subject. The shift component is mostly used by people photographing tall buildings, to keep the sides of the buildings looking straight, rather than angled away, whereas the tilt aspect has become synonymous with more creative work, such as miniature effects and creative portraiture.
We’re interested in the latter component, the tilting of the plane of focus. Much of the gear these days that allows for this type of shooting doesn’t even have the ability to shift at all, yet because of the inertia of language we still call it tilt-shift photography, even for applications that involve no shifting, and gear that has no shift capabilities. For this article we’ll call it tilt-photography instead. Maybe it’ll catch on!

A short history of tilt-photography
All that is needed for tilt-photography is the ability to tilt a lens when shooting.
We can assume then that tilt-photography began around the time interchangeable lenses were invented. This was the time that freelensing became possible. Creativity tends to follow very quickly in the wake of new technical possibilities.
Dedicated tilt-shift lenses arrived in 1973, with Canon’s TS35mm f/2.8 S.S.C. Many other manufacturers soon followed suit. Architectural photographers and some landscape photographers began to use these tools to improve the accuracy of their imaging.
But it wasn’t too long before creatives adapted the technology to their own ends.
Miniature-faking was popularized in the 90s, and continues to be used by creatives to produce images that look like miniature models. This technique had traction for years, until advances in software technology allowed photographers to achieve very similar results in post.
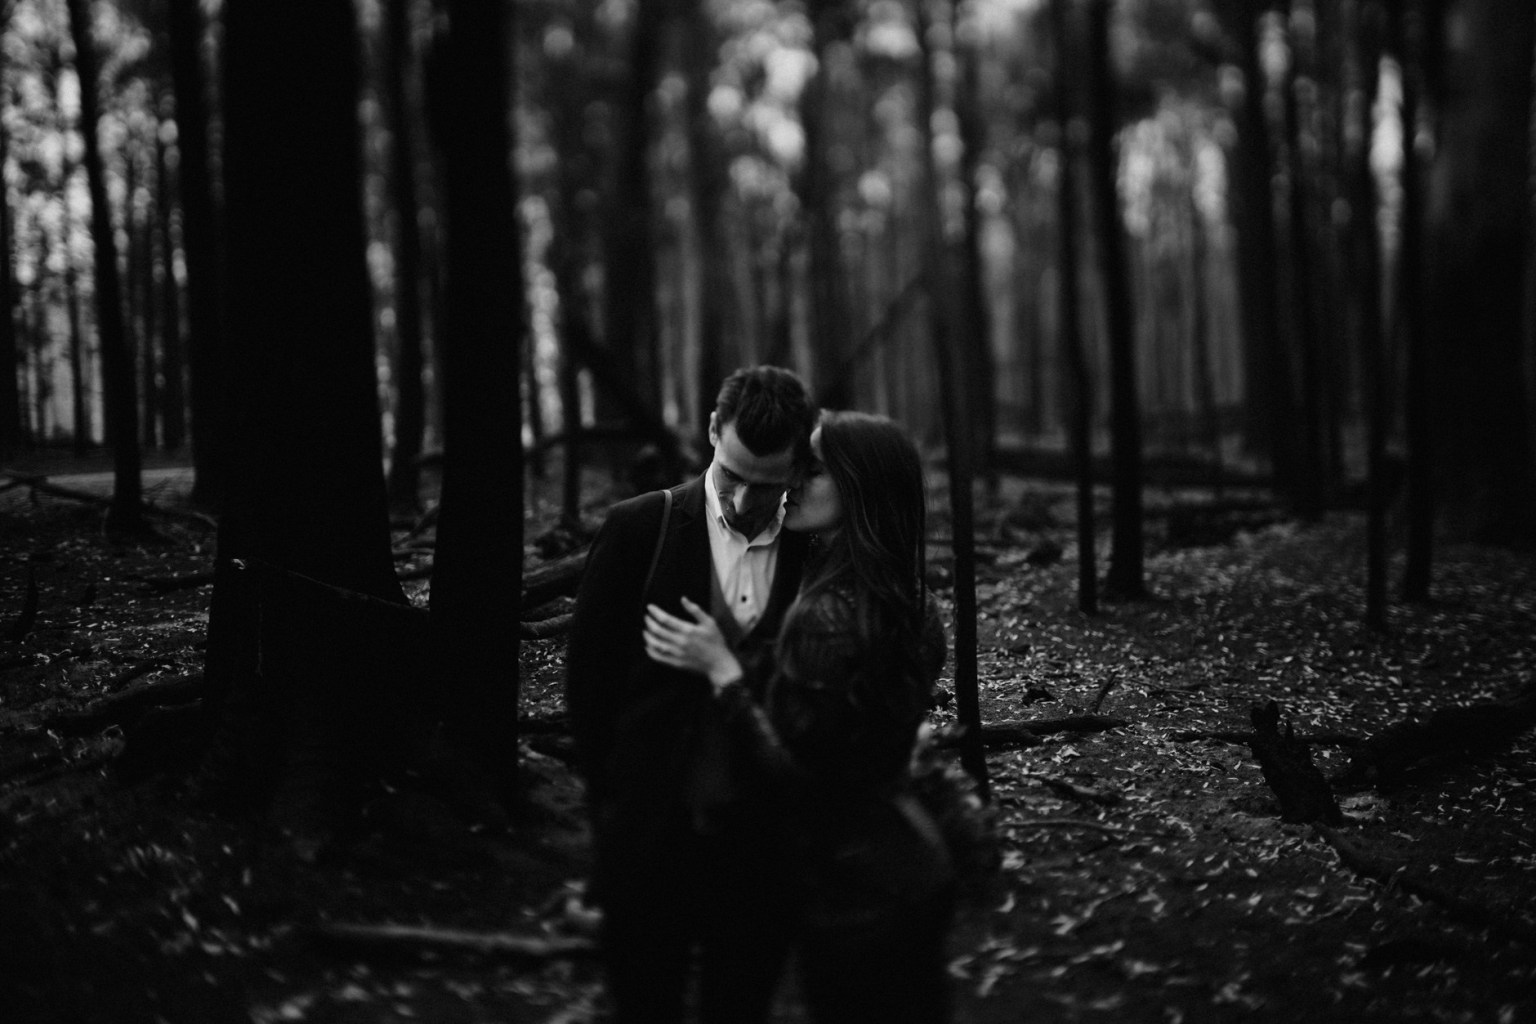
Throughout this time creatives have also been using tilt lenses for creative portraiture. The effect of shifting the plane of focus for many portraits can’t be replicated in post to the same extent as miniature-faking can, so mechanical methods still prevail. More about this in a moment!
How it Works
Ordinarily, a camera lens provides focus on a single plane. The image plane, lens plane and plane of focus are parallel.
When you tilt the lens plane, the plane of focus (PoF) also tilts. This Plane of Focus can be manipulated so that it passes through objects at an angle, leaving some of the object in focus, and some out of focus. It can also have the effect of bringing into focus objects in the foreground and background. This effect can be unusual to the eye, which is not used to seeing the PoF altered in such a way.
Below are two examples:
Image 1 is the way a regular lens (with a fairly shallow depth of field) captures a scene. The white band is the Plane of Focus. Notice how it covers most of the subject in the first image.

Image 1
Image 2 demonstrates how a tilted lens can reveal a scene : the image will render the subject in focus from the chest up, and out of focus below the waist. It also shifts the PoF in unusual ways in other parts of the image. This is one aspect of mechanical tilt-shifting that can’t be emulated easily in post.

Why Tilt?
Tilt-photography produces unique imagery that can be disarming, intriguing, and surreal. Most photographers use it sparingly, to add a point of difference to their work, something that can add interest and creativity to a collection.
Tilt-photography can also draw a person’s eye to a particular element of a scene, or even to several places at once. Objects in the foreground can be brought into focus at the same moment as objects far away, without needing to stop down a lens and bring everything into focus.
There are no rules in photography, but as with most things, tilting can be overdone. And sometimes it can make an image less compelling than it might have been with a traditional PoF. Yet it doesn’t offer photographers a unique tool in their kit-bag. And it can be fun to experiment with.

Technique
Experiment. Consider a cheap tilt-adapter before splurging on something more specialised and expensive (see below).
Setting up your camera to shoot with a tilt adapter, or even with a tilt-shift lens, can involve a steep learning curve. Every camera requires a different skill-set and process, but generally, if you can work out how to use a manual lens on your camera body, you’ll be able to figure out the ins and outs of getting your tilt setup working.
If you’re using a tilt-shift lens, it may be as simple as changing your camera settings to accept a manual lens, then figuring out the best way to “see” the plane of focus as you tilt (focus-assist, for example).
If you’re using an adapter, there could be a couple more steps. One of the things you’ll probably need to do is set the aperture of the lens you want to use. This will involve different processes depending on the camera and lens manufacturers. Most cameras have the ability to change the aperture of a lens, so that when it is unmounted from the camera the aperture blades remain fixed. This is important, because you’ll need to “set” the aperture prior to use, and you’ll be unable to change it while it is mounted on the tilt adapter.
You also want to consider carefully what aperture to set your lens up on. Test some different settings. A wide open prime will let in a lot of light and allow you to shoot at dusk without needing to slow your shutter or crank your ISO, but it will also mean that your tilting will be a more delicate process. Because your DoF will be so shallow, a very slight tilt will throw most of your subject out of focus. On the other hand, a stopped down lens will require a much greater tilt to see any effect, and will be harder to shoot with when you run out of light. Consider something betweenf2 and f3.5.
Manual focus tools can also help you get accurate focus. Most cameras these days have focus peaking that will show a zebra pattern on those parts of the images that are in-focus. This can be very helpful when tilting your lens to get the right part of the scene in focus.
Another technique that can help is to shoot a high volume of shots while you’re pulling focus. I shoot a high speed burst and slowly wind my tilt adapter at the same time, watching the focus peaking slide over my subjects as the shutter fires continuously. Then I’ll reset and do it again, perhaps trying a different pose for my subjects. Afterwards I pick the images that have given me the best focus result. Tilt-shooting can be tricky, and sometimes what we think looks best in-camera may turn out to have been slightly off. This “machine-gun” technique removes the guess-work.
Experiment between tilting down and up and even sideways. The effects will differ depending on the scene. Pay attention to how the tilting affects the foreground and background. Try to visualise the PoF as an invisible plane that moves as you tilt the lens: this will help you gain control over the effect.
In-camera or in post?
This will largely depend on what scene you are shooting, and why.
There is a ton of software these days that can emulate Tilt-photography to a certain extent. Things have improved a great deal since the days of applying gaussian blur in photoshop. We now have software that can emulate specific types of lens blur, at the correct rate of fall-off. Results have improved, but limitations still remain.
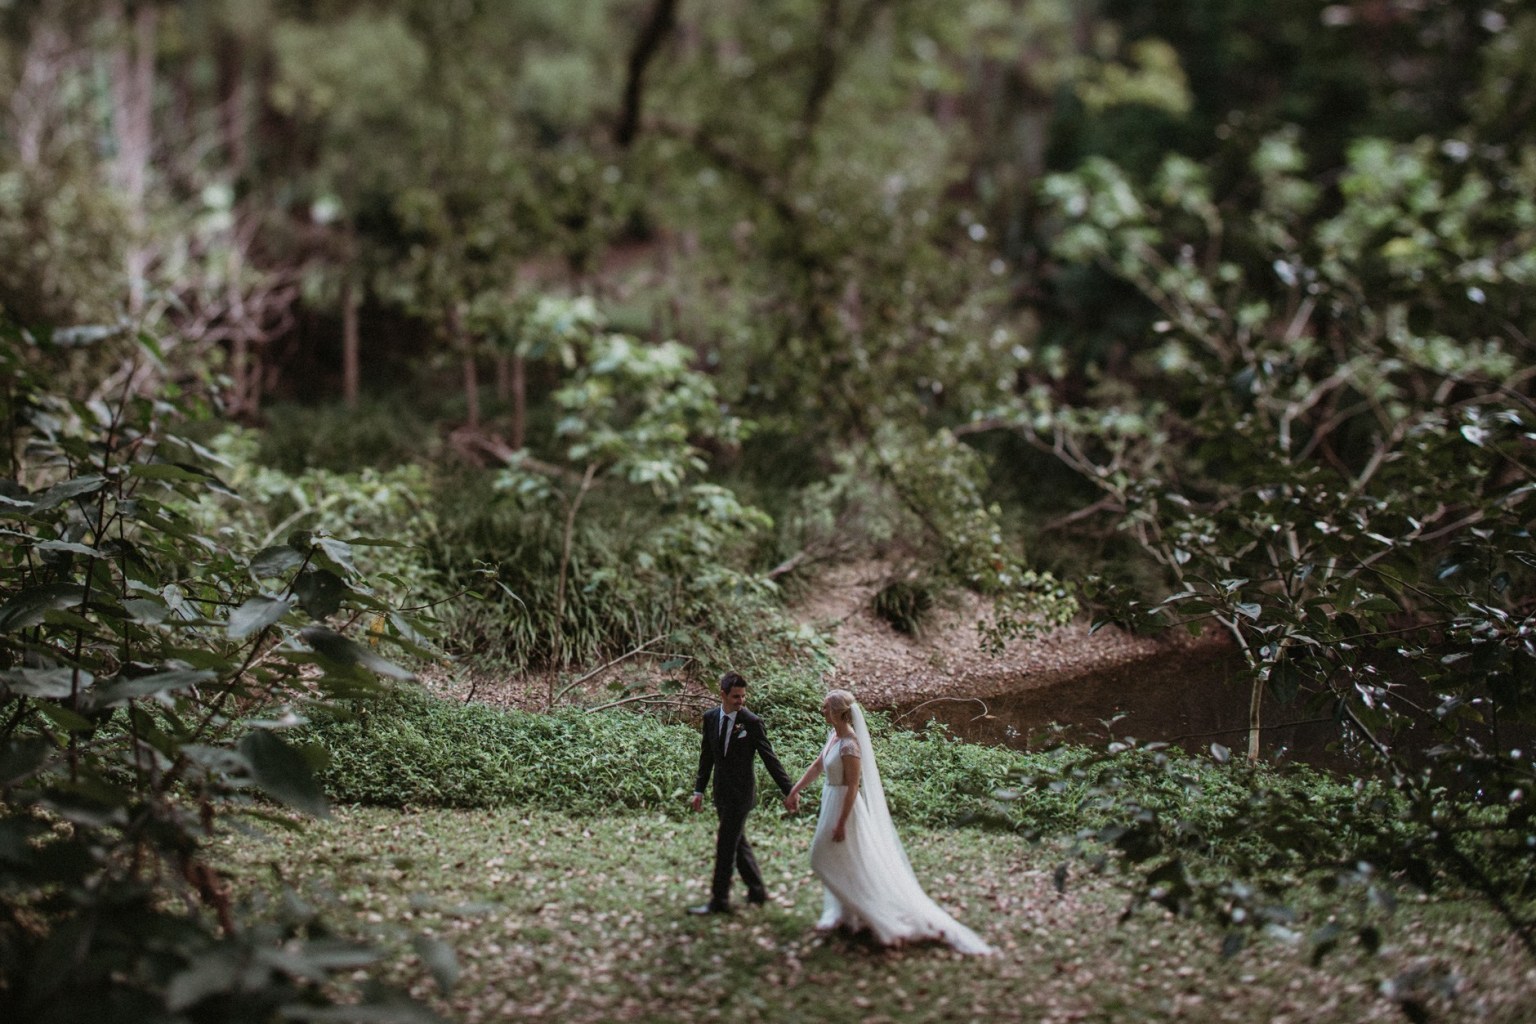
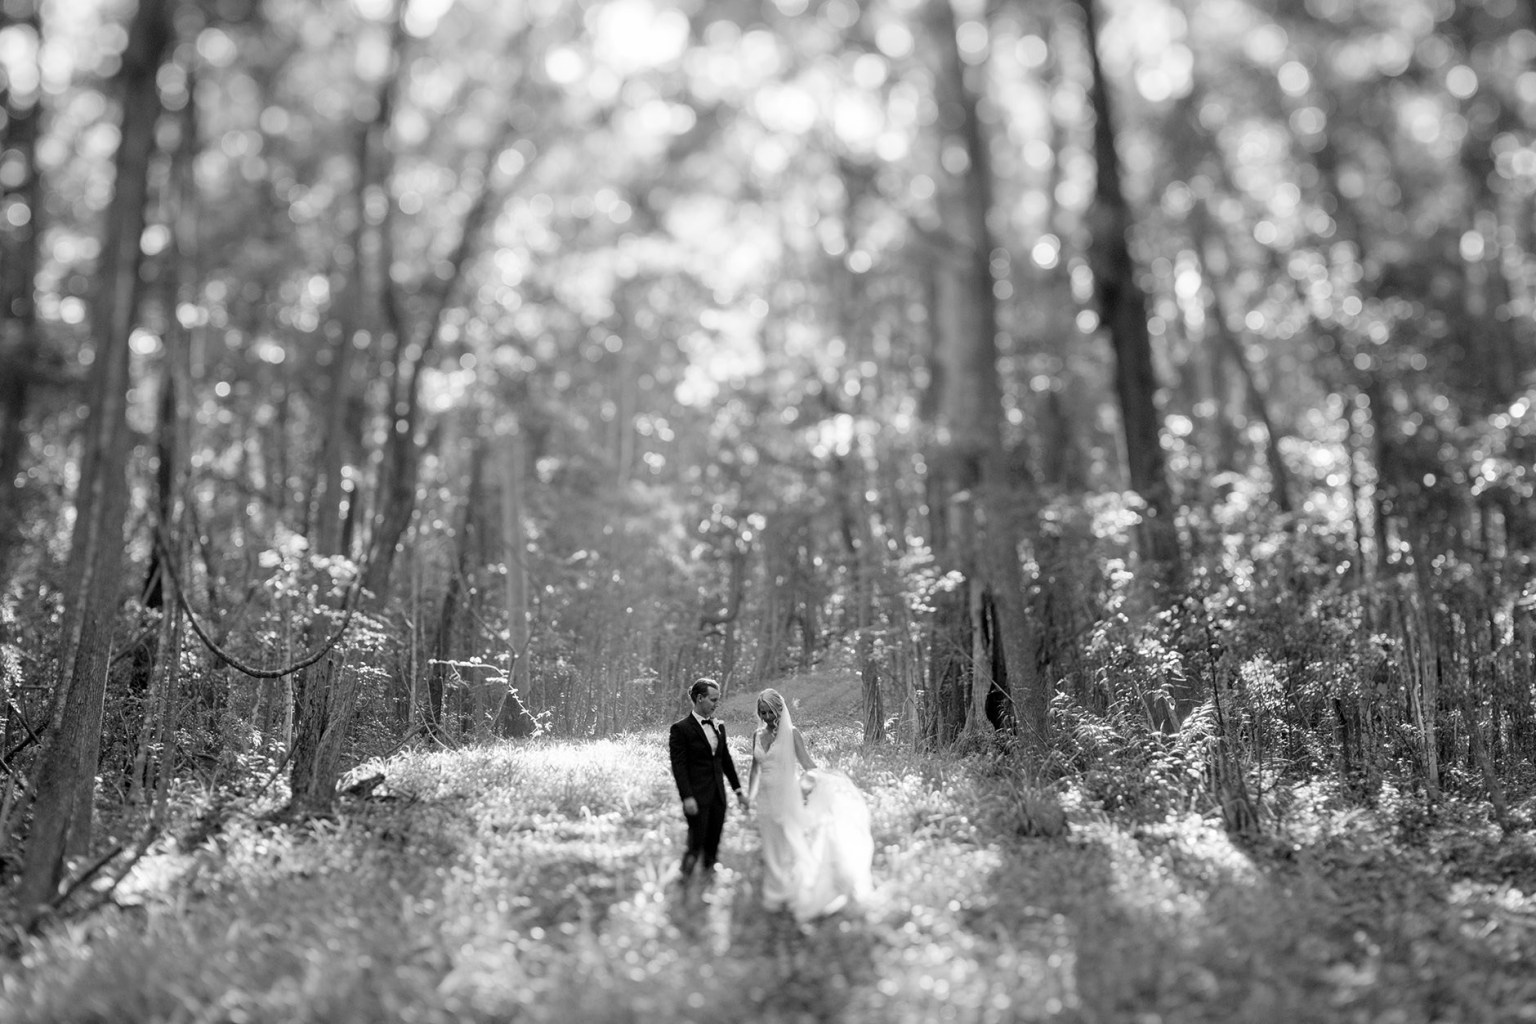
Software can never perfectly emulate real bokeh, especially when the out of focus area contains highlights. A lens will render glittering light (for example, from sunlight in leaves) as beautiful bokeh-balls: shining orbs and hexagons. An artificial render will turn them to soup.
In addition, some scenes have elements in the foreground and background that will be rendered differently with a mechanical tilt than with software. Note that in Image 1, some of the branches and leaves are covered by the tilted PoF. So is part of the lower tree. This means these areas will be in focus. Software, on the other hand, can only render the PoF as a straight line. In many situations, particular with scenes that involve depth, this can look clumsy and artificial.
If your subject is against a wall, however, you won’t face this issue: the scene is fairly shallow, with nothing in the foreground and no deep background. A tilted lens will turn out a very similar result to a software render. In this case, it can pay to do the work in post. Just make sure to use the right tools: the wrong type of blur can still look an obvious fake.

Gear
There are a bunch of options in the gear department for those wanting to get into tilt-shooting.
Free-lensing.
This has the advantage of needing no extra equipment other than the lenses in your bag. It is also versatile and expressive, and can allow you to explore light-leaks and lens-flares. The disadvantage of free-lensing is that it can be difficult to set up a lens and hard to control. Pulling and pushing focus while tilting at the same time is almost impossible with a single free hand. And results can be haphazard at best.
Tilt-shift lenses.
These bring specialized optics and controls into play. These lenses bring precision, but they also come with a hefty price-tag. And many photographers don’t really want to carry around an extra lens just for a handful of photos through a wedding day or portrait session
Tilt-adapters.
These can be hit and miss in the quality department, and can also be difficult to source. But they have advantages too: you can use them to adapt any lens in your arsenal. Want to get the buttery bokeh from a legendary lens like the canon 50 1.2? Just whack it on the end of a tilt-adapter. How about we play with some zoom images? No problem. Or we can use them on our everyday 35mm for a regular and dependable experience.
Not all lenses suit tilting, but an adapter allows you to experiment. And since tilt adapters aren’t particularly complicated (they’re often entirely mechanical, without any glass, let alone electronic elements), they tend to be lightweight and cheap. You can find them for as little as $25. A great way to step into the realm of tilt-shooting, without investing too much money.

Final Notes
Tilt-shifting isn’t for everyone. And it probably shouldn’t be for everything. But used sparingly, a tilted lens can add something different and unique to a photo collection. And every now and then it can elevate the mundane into something quite special.
They’re also fun to play with. So why not?


